.png)
Dariusz
Trawinski
Deploy AI Inference with OpenVINO™ and Kubernetes
Introduction
Model servers play a vital role in bringing AI models from development to production. Models are served via network endpoints which expose APIs to run predictions. These microservices abstract inference execution while providing scalability and efficient resource utilization.
In this blog, you will learn how to use key features of the OpenVINO™ Operator for Kubernetes. We will demonstrate how to deploy and use OpenVINO Model Server in two scenarios:
1. Serving a single model
2. Serving a pipeline of multiple models

Kubernetes provides an optimal environment for deploying model servers but managing these resources can be challenging in larger-scale deployments. Using our Operator for Kubernetes makes this easier.
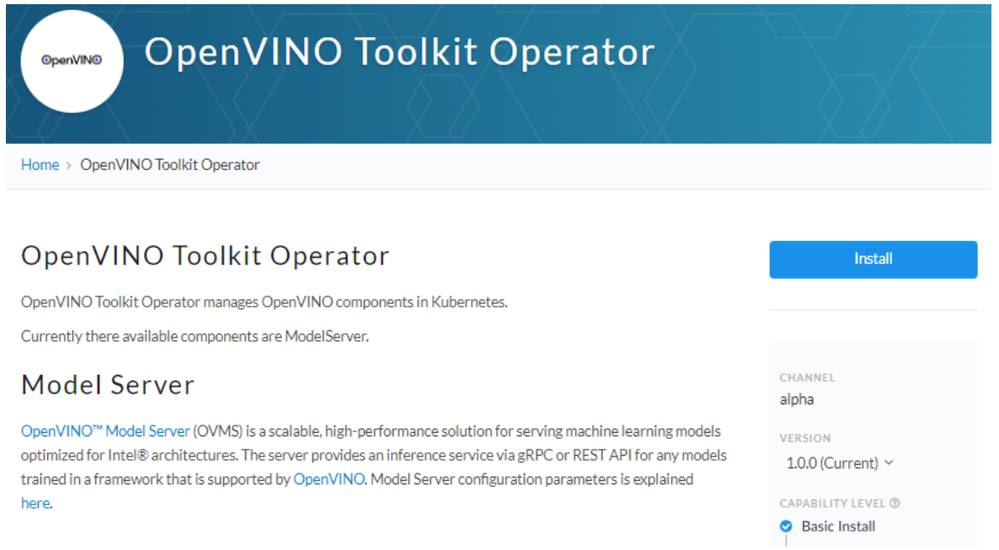
Install via OperatorHub
The OpenVINO Operator can be installed in a Kubernetes cluster from the OperatorHub. Just search for OpenVINO and click the 'Install' button.
Serve a Single OpenVINO Model in Kubernetes
Create a new instance of OpenVINO Model Server by defining a custom resource called ModelServer using the provided CRD. All parameters are explained here.
In the sample below, a fully functional model server is deployed along with a ResNet-50 image classification model pulled from Google Cloud storage.
A successful deployment will create a service called ovms-sample.
Now that the model is deployed and ready for requests, we can use the ovms-sample service with our Python client known as ovmsclient.
Send Inference Requests to the Service
The example below shows how to use the ovms-sample service inside the same Kubernetes cluster where it’s running. To create a client container, launch an interactive session to a pod with Python installed:
From inside the client container, we will connect to the model server API endpoints. A simple curl command lists the served models with their version and status:
Additional REST API calls are described in the documentation.
Now let’s use the ovmsclient Python library to process an inference request. Create a virtual environment and install the client with pip:
Download a sample image of a zebra:

The Python code below collects the model metadata using the ovmsclient library:
The code above returns the following response:
Now create a simple Python script to classify the JPEG image of the zebra :
The detected class from imagenet is 341, which represents `zebra`.
Serve a Multi-Model Pipeline
Now that we have run a simple example of serving a single model, let’s explore the more advanced scenario of a multi-model vehicle analysis pipeline. This pipeline leverages the Directed Acyclic Graph feature in OpenVINO Model Server.
The remaining steps in this demo require `mc` minio client binary and access to an S3-compatible bucket. See the quick start with MinIO for more information about setting up S3 storage in your cluster.
First, prepare all dependencies using the vehicle analysis pipeline example below:
The command above downloads the required models and builds a custom library to run the pipeline, then places these files in the workspace directory. Copy these files to a shared S3-compatible storage accessible within the cluster (like MinIO). In the example below, the S3 server alias is mys3:
To use the previously created model server config file in `workspace/config.json`, we need to adjust the paths to models and the custom node library. The commands below change the model paths to use our S3 bucket and the custom node library to `/config` directory which will be mounted as a Kubernetes configmap.
Next, add both the config file and the custom name library to a Kubernetes config map:
Now we are ready to deploy the model server with the pipeline configuration. Use kubectl to apply the following ovms-pipeline.yaml configuration:
This creates the model serving service
To test the pipeline, we can use the same client container as the previous example with a single model. From inside the client container shell, download a sample image to analyze:
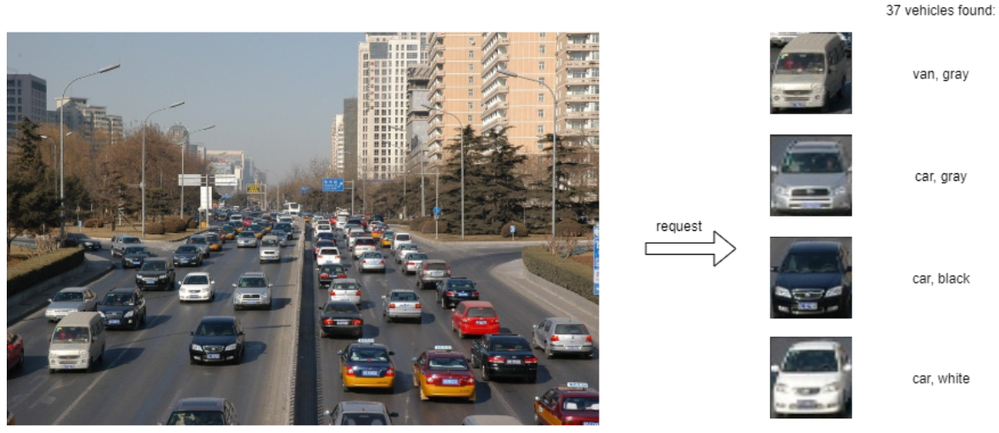
Run a prediction using the following command:
The sample code above returns a list of the pipeline outputs without data interpretation. More complete client code samples for vehicle analysis are available on GitHub.
Conclusion
OpenVINO Model Server makes it easy to deploy and manage inference as a service in Kubernetes environments. In this blog, we learned how to run predictions using the ovmsclient Python library with both a single model scenario and with multiple models using a DAG pipeline.
Learn more about the OpenVINO Operator: https://github.com/openvinotoolkit/operator
Check out our other model serving demos.